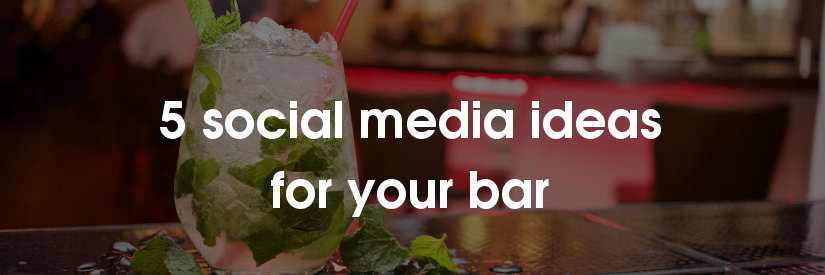
Find in this post 5 social media ideas for your bar to make the most out of its online presence.
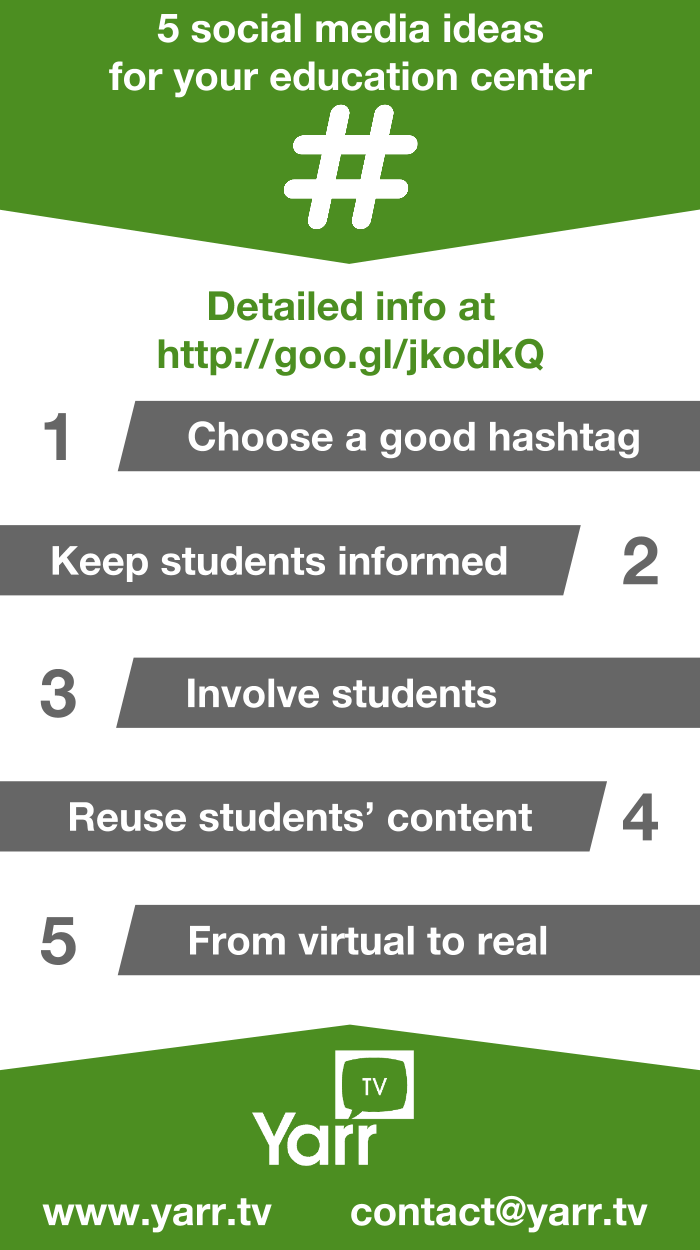
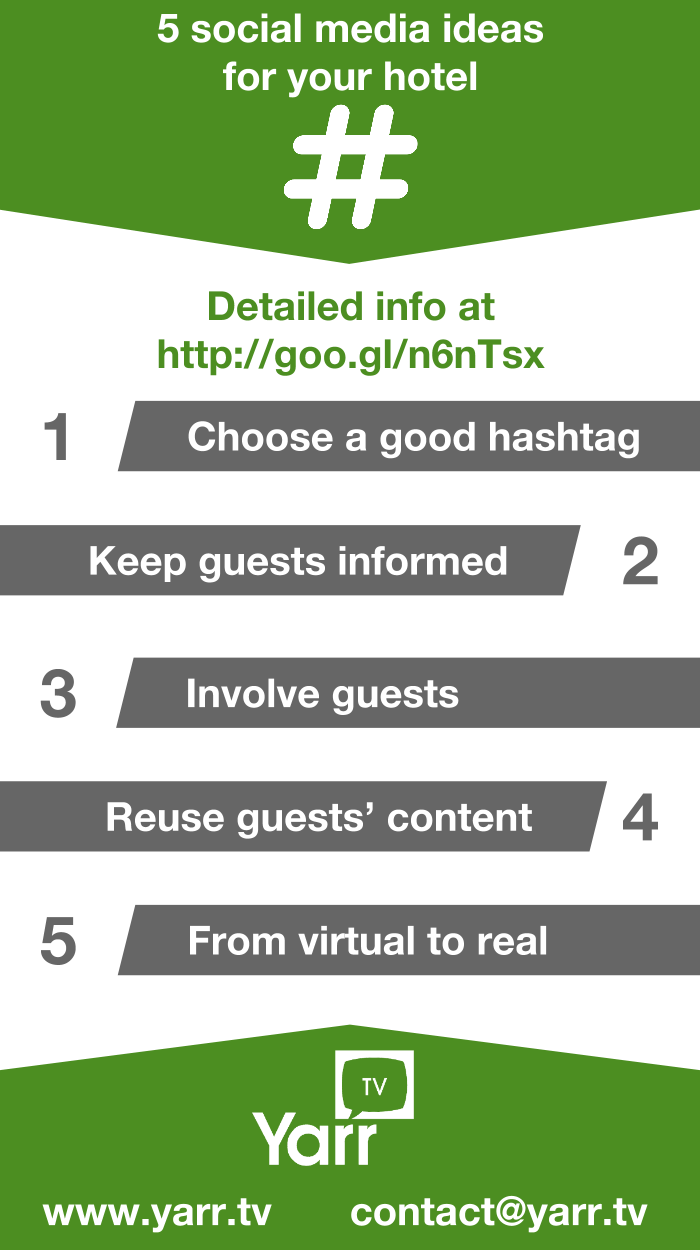
1. Choose a good hashtag
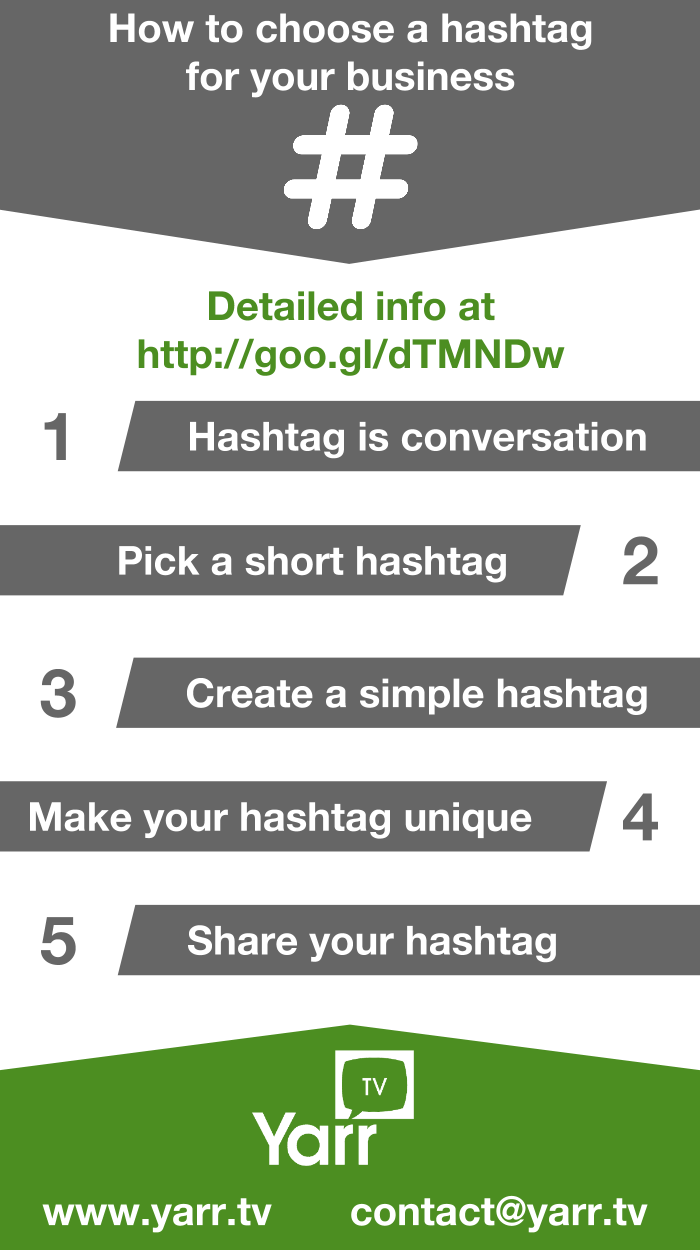
If you don’t have one yet, you must create a hashtag for your bar: #MyBar. In this brief word or set of words you should reflect your brand name to make it easier for users to mention you in their comments on social media. For details on how to create a good hashtag for your bar, take a look at this article.
2. Keep customers informed
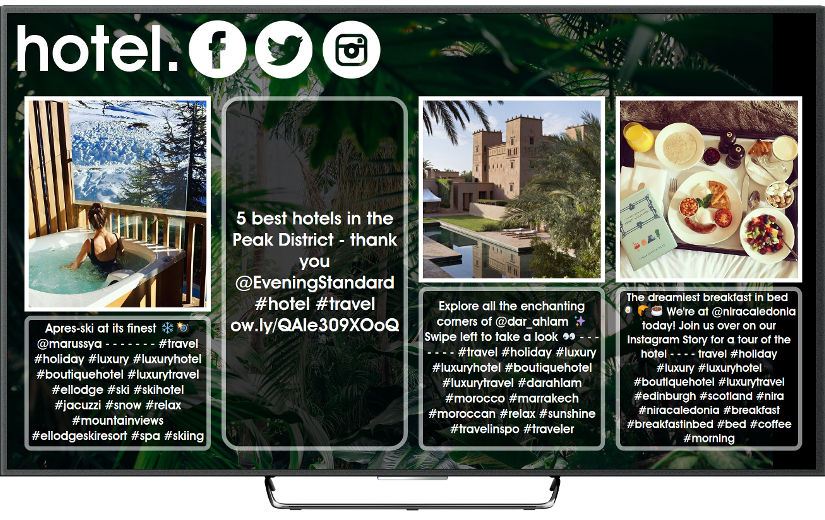
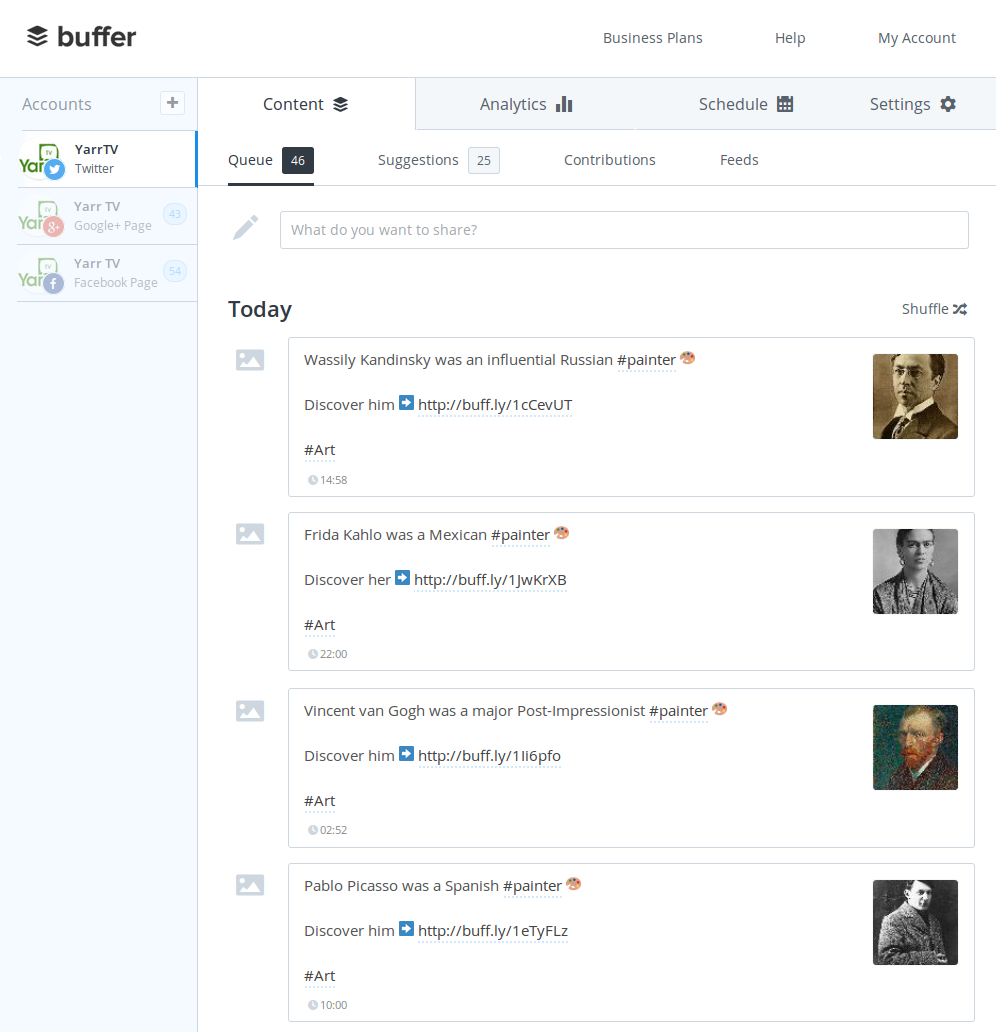
Use social media to highlight your strengths, for example, the ambience of your bar, your best promotions and cocktails. Share your schedule on Twitter, create an album with photos of your best events on Facebook, photograph your best dishes and upload them to Instagram… In short, share every single piece of information with your followers so they can better enjoy the stay at your bar.
Live!!! #stpatricksmuseum pic.twitter.com/VWBK4ruBUP
— St. Patrick's Museum (@stpatricks_sa) enero 29, 2015
3. Involve customers
Invite your customers to leave their stories and experiences in your social media. With a brief comment, a picture and even a short video, the essence of your bar will be shared and viewed by a large number of people.
#StPatricksMuseum pic.twitter.com/UWF65LUXeC
— Cristina C. (@Cris_smthng) marzo 17, 2015
4. Reuse customers’ content
Use the content generated by your customers to create viral content. Collect this content, create an animated video based on the experience at your bar and show it on your YouTube channel. A viral video is a good element to spread a brand image closer and funnier; it reaches the customer through humor and emotions, inviting them to share it among their friends.
5. From virtual to real
Boost your online presence using offline media:
- organize contests and raffles based on social media
- share your hashtag on physical goods: flyers, cards, menus, coasters, tablecloths, napkins…
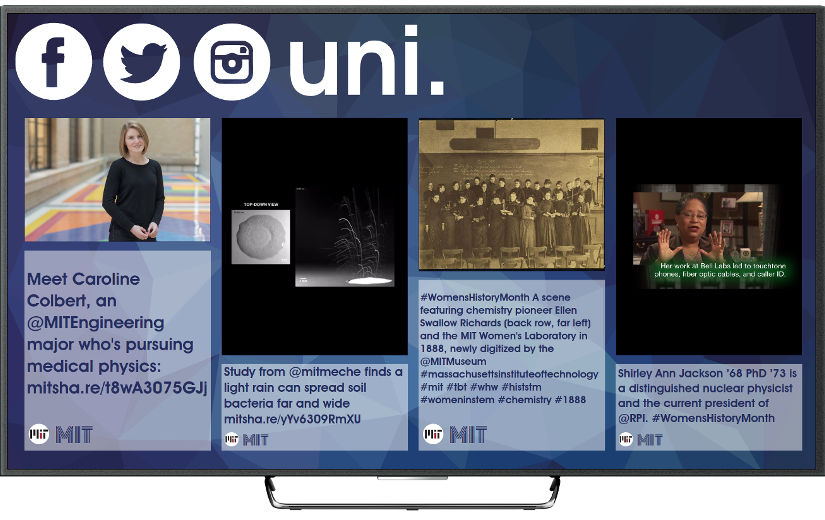
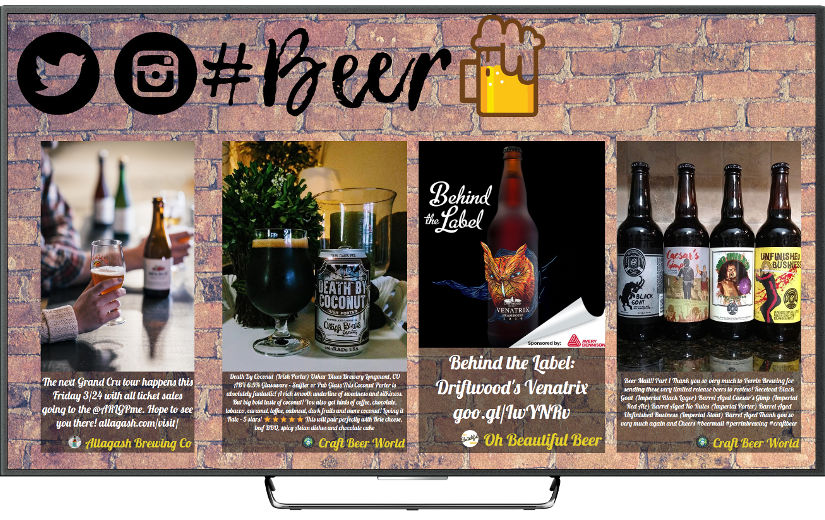
- display photos and videos of customers on the screens of your bar
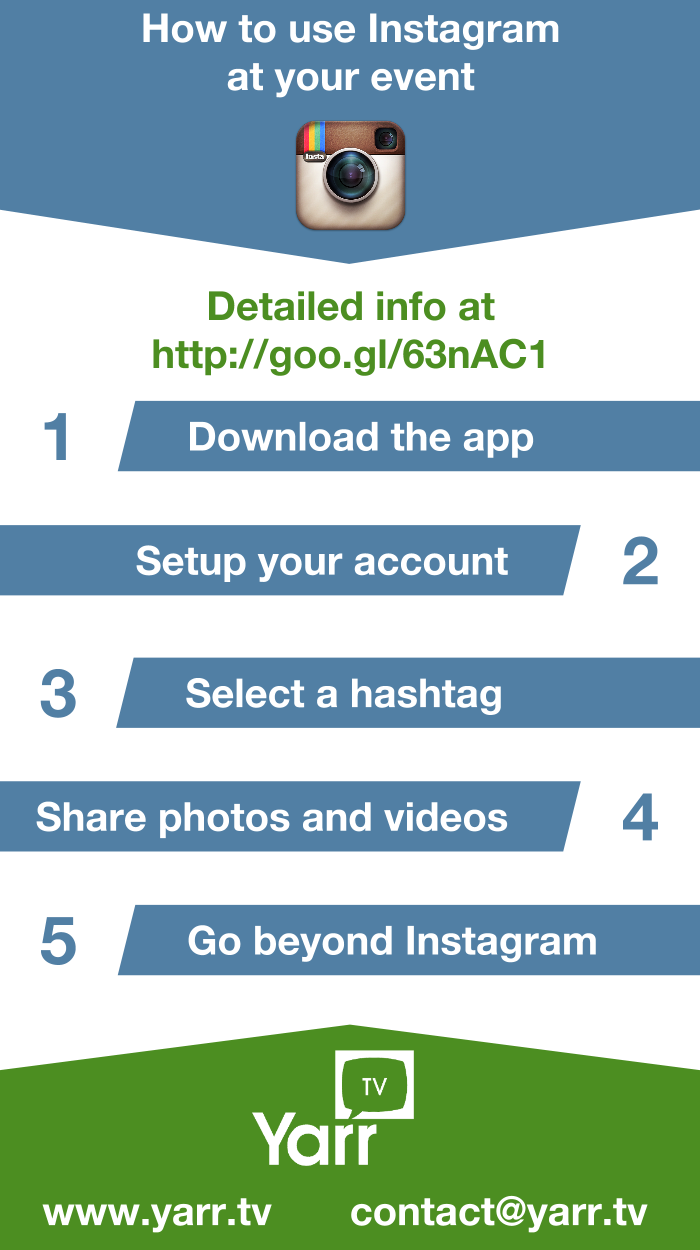
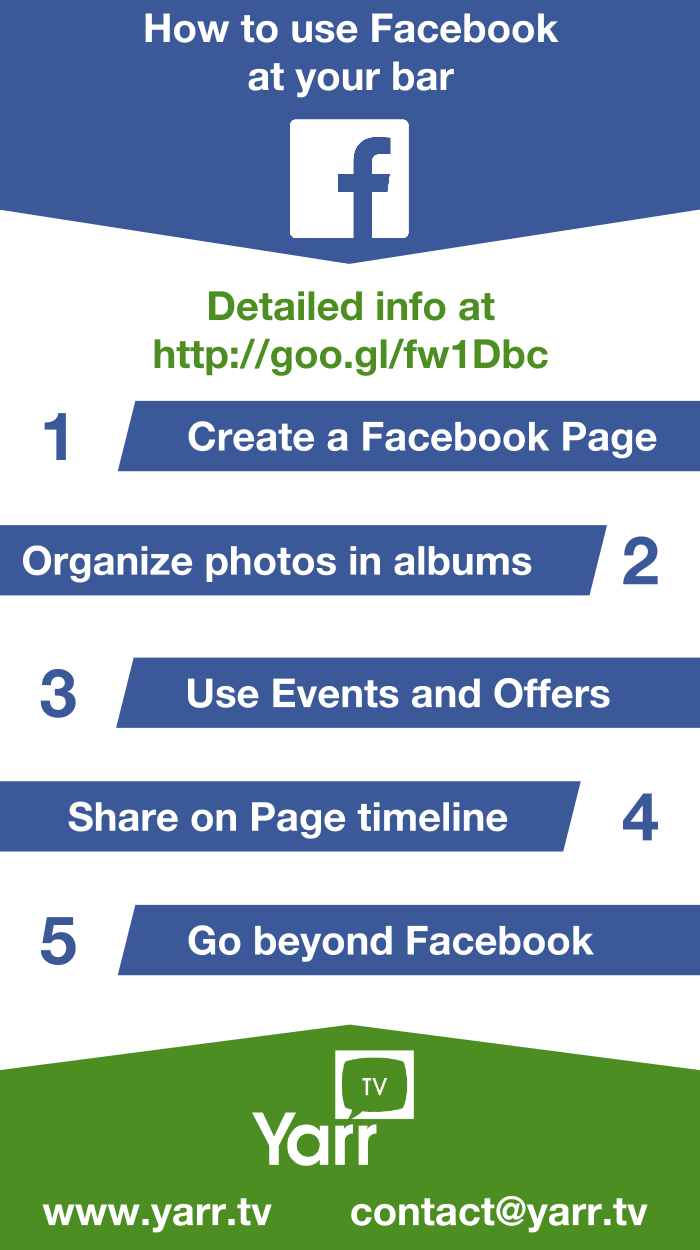
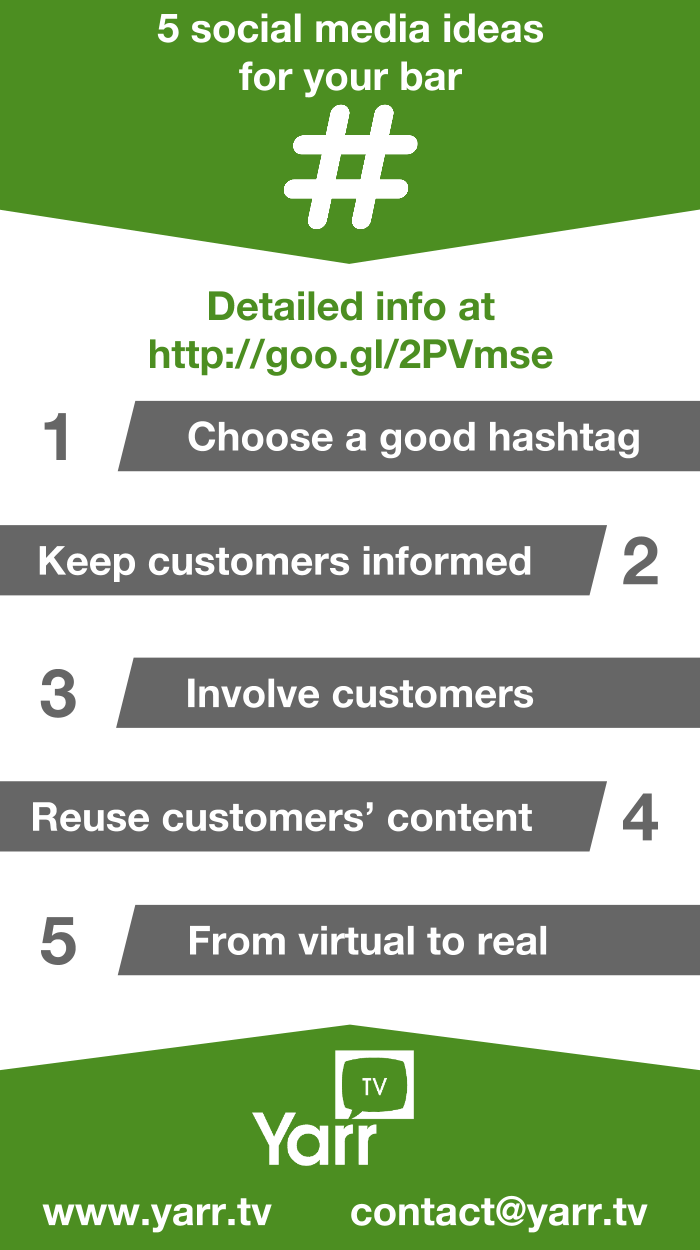
Infographic
Liked this article?
You may also like:
- Social media guide for retail
- How to display Twitter videos on screens
- How to display Twitter GIFs on screens
- Social media guide for education centers
- Social media guide for music festivals
- How to display Instagram videos on screens
- How to display Instagram photos on screens
- How to display photos and videos of Instagram searches on screens
- How to display photos and videos of Instagram hashtags on screens
- How to create and setup an Instagram wall for events
Let’s boost your bar in social media
| We develop solutions for your bar to be a success in social media, let’s talk! |
 |
| Rafa Roda – CEO of Yarr TV |
| CONTACT US |